Welcome to Trezor, one of the most trusted hardware wallets for cryptocurrency worldwide. Trezor gives you full control over your digital assets while keeping your private keys safe from hackers, malware, and phishing attacks.
This guide will walk you through everything you need to start securely: unboxing your Trezor device, setting it up, installing Trezor Suite, adding accounts, sending and receiving crypto, and following best security practices. By following these steps, you ensure your crypto is fully under your control.
Cryptocurrency ownership comes with responsibility. Unlike software wallets or exchanges that store your private keys online, Trezor keeps your keys offline in a secure environment, protecting them from online threats.
With a Trezor device, you get:
With Trezor, no one—exchange, app, or hacker—can move your funds without your explicit approval.
Before starting your setup, make sure you have:
⚠️ Important: Never share your recovery seed online. Anyone with access to your seed can access your crypto.
Carefully unbox your Trezor device. Check that the packaging is sealed and untampered. Trezor devices are shipped with tamper-evident stickers to help you detect interference. If anything looks suspicious—broken seals, scratches, or missing accessories—do not continue and contact Trezor support immediately.
Proper handling ensures your private keys are secure from the very beginning.
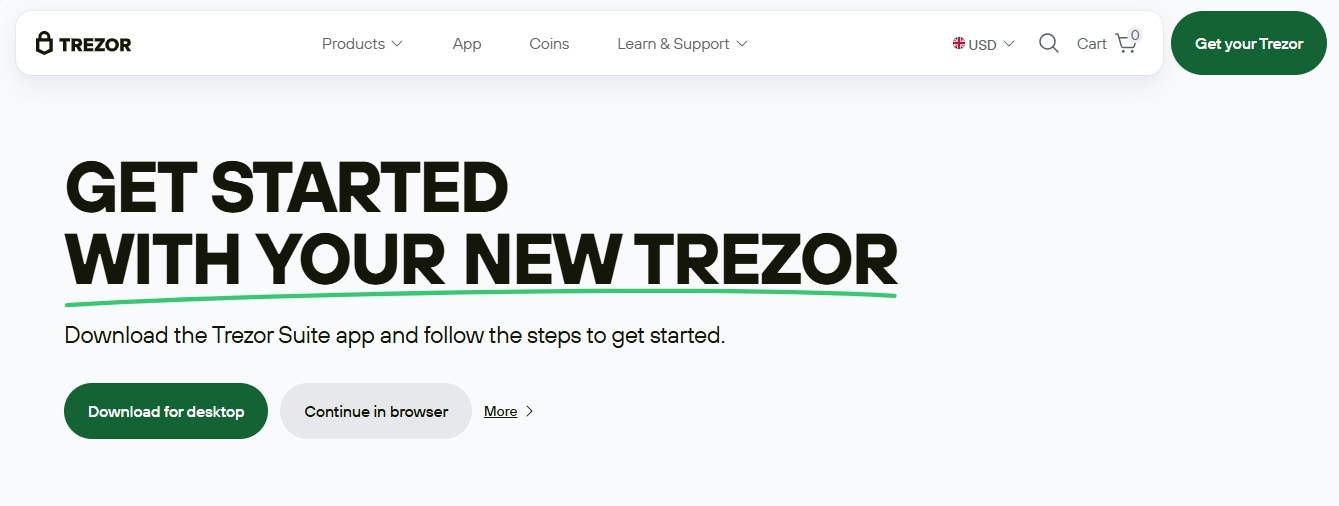
Trezor Suite is the official desktop and web application for managing your crypto. It allows you to initialize your device, add accounts, send and receive crypto, and track your portfolio.
Steps to install Trezor Suite:
Trezor Suite ensures all firmware updates and account management are conducted securely.
Connect your Trezor device to your computer using the included USB cable. Turn on the device and choose “Create new wallet.”
You will be prompted to create a PIN directly on your device. This PIN protects your device from unauthorized access. Make it memorable but hard for others to guess.
Your device will generate a 12, 18, or 24-word recovery seed. This seed is the only backup of your wallet in case your device is lost, stolen, or damaged.
Important guidelines:
After recording your seed, your device will ask you to confirm several words to ensure they are stored correctly. This step guarantees you can restore your wallet later.
Once your device is initialized, you can add cryptocurrency accounts in Trezor Suite. Trezor supports thousands of coins and tokens, including Bitcoin, Ethereum, and other altcoins.
How to add an account:
Each transaction—sending or receiving—requires physical confirmation on the device itself, which protects your funds from malware or unauthorized access.
To receive funds:
To send funds:
Physical confirmation ensures that even if your computer is compromised, your crypto cannot be stolen.
Trezor will never ask for your recovery seed. Be cautious of:
Best practices:
These practices ensure your crypto remains secure in a constantly evolving digital landscape.
Trezor offers additional security features for advanced users:
Always confirm all transactions on your device to maintain security.
If your Trezor is lost, stolen, or damaged, your crypto can be restored on a new device using your recovery seed. Simply select “Recover wallet” during setup and enter your recovery words in order.
This highlights the importance of storing your seed safely; without it, your funds cannot be accessed.
Trezor is more than a wallet. With Trezor Suite and compatible third-party apps, you can:
Trezor acts as your gateway to the digital asset ecosystem while keeping your private keys offline.
Keeping your crypto safe requires ongoing vigilance:
Your vigilance is the most critical component of security, even with a hardware wallet.
Trezor.io/start is your official guide for setting up a Trezor wallet safely. By following this guide, you will:
Starting securely today ensures your crypto remains protected tomorrow. With Trezor, you are in full control of your digital assets, giving you confidence and peace of mind in the evolving world of cryptocurrency.